
When a school auditorium is designed to host both a full assembly and smaller breakout sessions, a manual operated school auditorium partition stacking protocol becomes a core planning document. The protocol is not simply a set of lines painted on the floor; it is a shared reference that aligns the architect’s layout, the contractor’s installation tolerances, the facilities team’s daily operation, and the partition manufacturer’s configuration. For EBUNGE movable wall systems, panels are individually movable, suspended from an overhead track, and travel across the opening without a continuous floor track. That means the stacking zone—where panels park when not in use—must be planned with the same care as the room’s sightlines and seating layout.
This article explains why a floor marking protocol matters, what information it must capture, and how project teams can coordinate it without relying on unverified performance assumptions. Whether you are an architect specifying the system, a contractor preparing the site, or a school owner planning future flexibility, the stacking zone is where your operational intent becomes a physical reality.
What Is a Stacking Zone Floor Marking Protocol?
A stacking zone floor marking protocol is a documented plan that defines the exact area where movable partition panels are parked when the room is opened to its full size. It includes floor markings, wall markings, and sometimes ceiling indicators that help operators position each panel consistently. For a manual operated system, the protocol also covers the sequence of movement, the path each panel follows, and the clearances needed around the stacking area.
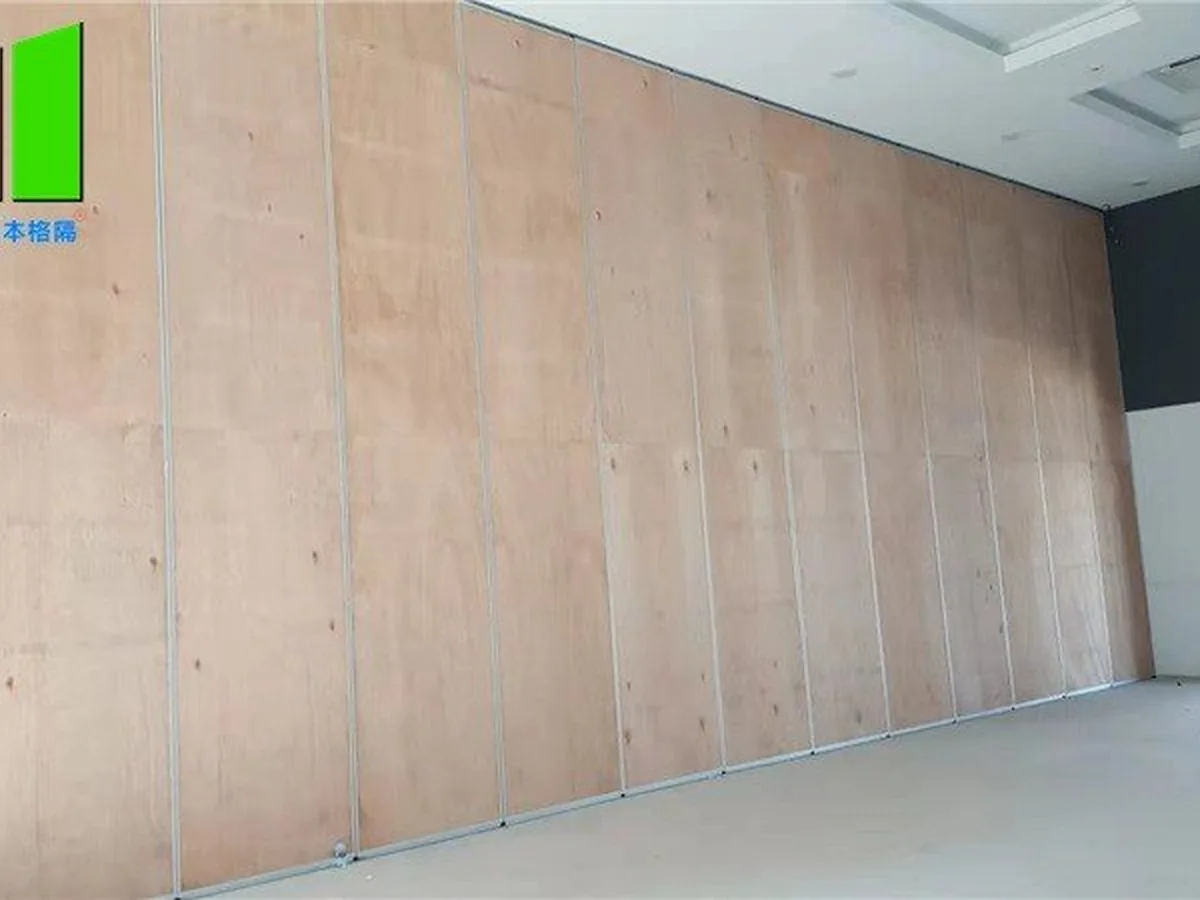
In a school auditorium, the stacking zone often sits behind a curtain or along a side wall. But the protocol is not just about aesthetics—it protects the partition from damage, prevents obstruction of doors or emergency exits, and ensures that the panels can be moved back into place without misalignment.
Why Floor Markings Matter Even Without a Floor Track
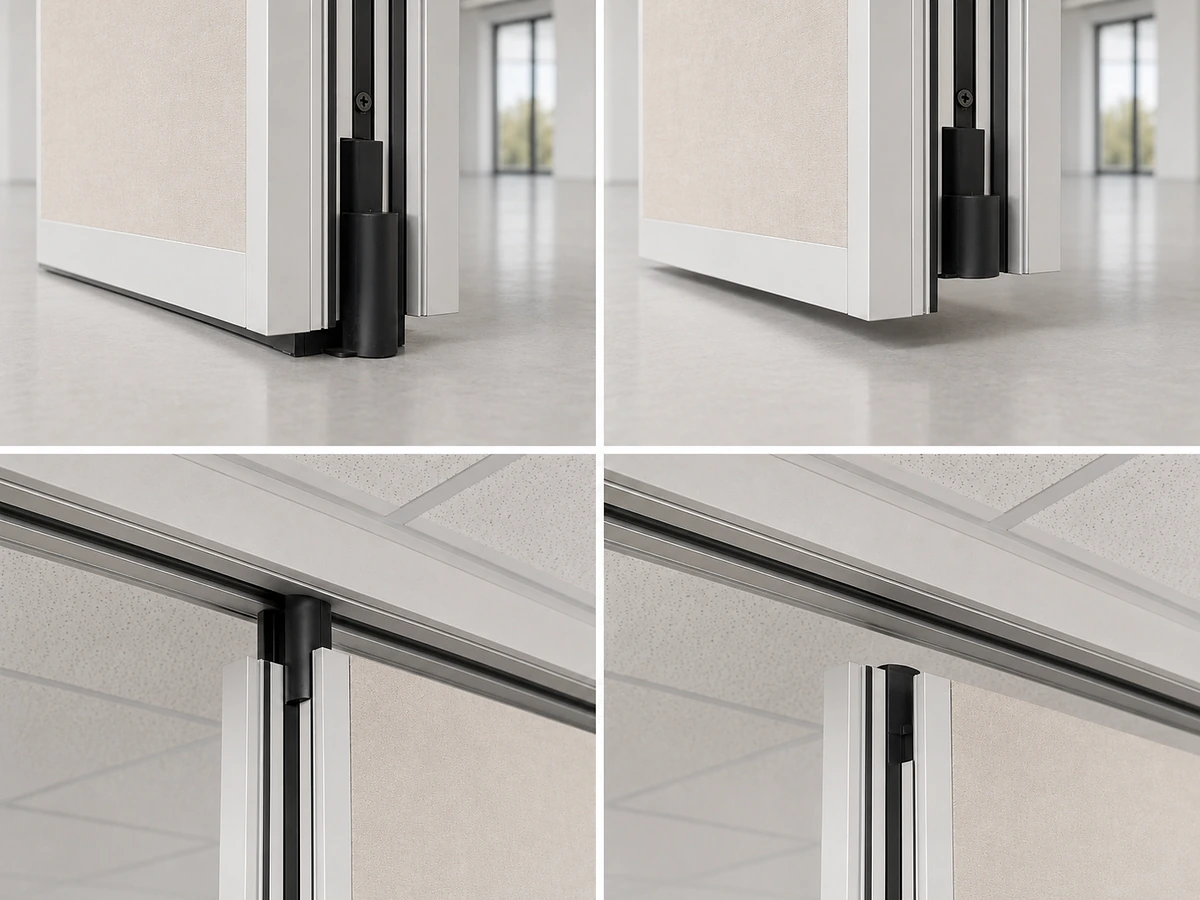
Because EBUNGE movable partitions are top-hung and do not require a floor track along the partition line, some teams assume the floor is irrelevant. In fact, the opposite is true: without a floor guide, the operator relies on visual cues to keep panels aligned. Floor markings in the stacking zone provide those cues. They show where each panel should stop, how far to pull it, and where the stack begins and ends. This is especially important in a manual system, where the operator’s judgment directly affects the panel’s position.
Coordination Begins with the Layout Review
Share the opening dimensions, room layout and intended operating sequence for review.
The first step in developing a stacking protocol is a thorough review of the room layout. The exact route, junction arrangement, continuous overhead path and parking position must be confirmed from the coordinated project drawings. This review is not a generic checklist; it is specific to your project’s dimensions, ceiling structure, and architectural constraints.
During this review, the stacking zone is identified based on the number of panels, their width, and the available wall space. The protocol then translates that zone into physical markings that are meaningful to the operator.
What the Layout Review Must Confirm
- Continuous overhead route: Every panel must travel from the closed position to the stacking zone along a connected track. There can be no gaps or unsupported spans.
- Turning clearances: If the route includes a curve or a switch, the stacking zone must allow enough space for the panel to swing without hitting walls or fixtures.
- Stacking depth: The number of panels and their thickness determine how deep the stack will be. This depth must be marked clearly so operators know when the stack is complete.
- Obstruction check: The stacking zone must not block doors, electrical outlets, lighting controls, or emergency equipment.
These items are not performance claims; they are spatial coordination requirements that must be confirmed for each project.
Safety and Operational Efficiency in a School Setting
Schools have unique operational rhythms. An auditorium may be used for a morning assembly, a midday rehearsal, and an evening community event—all in the same day. The partition may be moved multiple times, often by staff who are not trained in partition operation. A clear stacking protocol reduces the risk of errors that could damage the partition or injure someone.
Floor markings also help maintain clear egress paths. In an emergency, the stacking zone must be free of obstacles. By marking the zone, you remind everyone that this area is reserved for partition parking and should not be used for storage.
Training and Visual Cues
Floor markings are only effective if operators understand them. The protocol should include a simple training guide that explains the markings: a solid line for the stack boundary, arrows for the direction of movement, and numbers or labels for each panel position. In a manual system, the operator must know the sequence—which panel moves first, which moves last—to avoid collisions.
EBUNGE can discuss pass-door requirements and project documentation, but the training content is typically developed by the project team. The protocol should be part of the building’s operation manual.
Acoustic and Finish Considerations in the Stacking Zone
While the stacking protocol is primarily about movement, it also affects the partition’s performance. When panels are parked, they are often stacked face-to-face. The finish on each panel—laminate, melamine, fabric, leather, glass, or other approved surfaces—can be protected by the protocol. For example, the protocol may specify that panels are stacked with protective separators if the finish is delicate.
The suitability of each route and parking arrangement depends on the approved layout, circulation, ceiling interfaces and operating sequence. STC/Rw ratings, if discussed, are conceptual measures of sound insulation; they do not apply to the stacked condition.
Finish Protection and Maintenance
Floor markings can also indicate where to place protective mats or guides if the panels are moved frequently. However, the need for such accessories depends on the finish and the frequency of use. Confirm with EBUNGE what finish options are suitable for your application and what care they require.
Documentation and Drawings: The Backbone of the Protocol
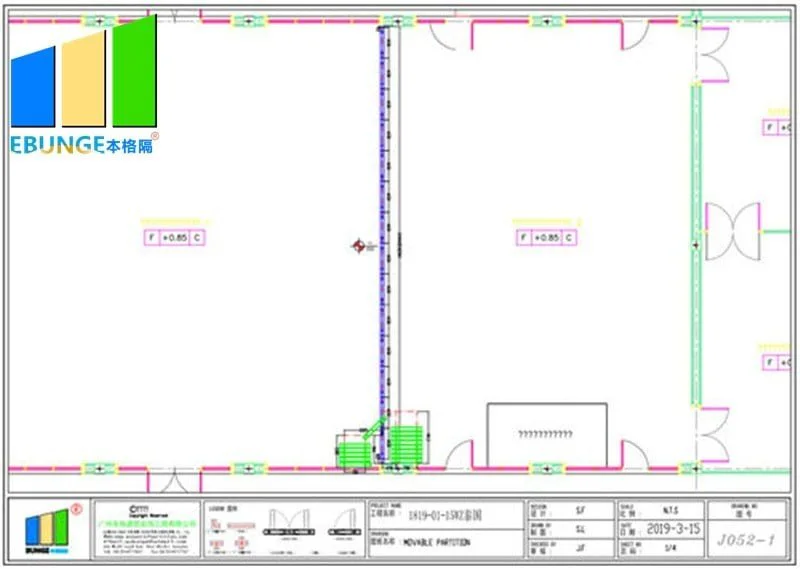
A stacking zone floor marking protocol is only as good as its documentation. The protocol should be included in the project drawings, showing the exact dimensions and locations of all markings. It should also reference the partition layout drawings, which show the track route and stacking configuration.
EBUNGE provides project-specific documentation that covers track routes, stacking, ceiling interfaces, and finish selection. These documents are essential for the contractor to install the overhead track correctly and for the facilities team to understand the system’s operation.
What to Include in the Protocol Document
- Plan view: A scaled drawing showing the stacking zone, the partition’s closed position, and the movement path.
- Marking specifications: Paint type, color, line width, and durability requirements.
- Operational sequence: Step-by-step instructions for moving panels from closed to stacked and back.
- Contact information: Who to call for maintenance or questions about the partition.
Review the ceiling interface, panel route and stacking position together.
This documentation is not a substitute for professional judgment; it is a tool for coordination.
Common Pitfalls in Stacking Zone Planning
Even with good intentions, project teams often make mistakes when planning stacking zones. Here are a few to avoid:
Ignoring the Turning Radius
If the track includes a curve, the panels need more space than a straight run. The stacking zone must account for the swept path of the panel as it turns. Without proper markings, an operator may pull a panel too far and cause it to bind.
Placing the Stacking Zone Near Obstructions
A stacking zone that looks fine on paper may be obstructed by a light fixture or a wall-mounted projector. The protocol must be verified on site after the room is finished.
Assuming All Panels Are the Same
In some configurations, panels may have different widths or include pass-doors. The stacking sequence must account for these differences. The floor markings should indicate which panel goes where.
How to Implement the Protocol on Site
Implementation is a collaborative effort. The general contractor typically applies the floor markings, but the partition supplier should review the layout before installation. EBUNGE can review your layout to confirm that the proposed stacking zone is compatible with the overhead track system.
Once the markings are in place, test the movement with the actual panels. This is the only way to confirm that the markings align with the panel positions. Adjustments may be needed if the track installation has minor tolerances.
Coordination with Ceiling and Lighting
The stacking zone is not just a floor issue. The ceiling above the stacking zone must be clear of obstructions that could interfere with the top-hung panels. The exact overhead route and support arrangement must be confirmed by the responsible project team from coordinated drawings. The protocol should include a ceiling plan as well.
Frequently Asked Questions
Why is a floor marking protocol necessary if the partition is top-hung and has no floor track?
Even without a floor track, the operator needs visual guidance to position panels accurately. Floor markings in the stacking zone provide a consistent reference for where each panel should stop, reducing the risk of misalignment and damage.
What project information is required to develop a stacking protocol?
You need the room layout, ceiling structure, panel configuration, and the intended stacking location. EBUNGE reviews these details to confirm that the overhead track route supports the movement and that the stacking zone is feasible.
Can the stacking zone be placed in any location?
No. The location is determined during the layout review.
Does the stacking protocol affect acoustic performance?
No. Visible references can support layout discussion but do not verify hidden construction or performance.
Who is responsible for applying the floor markings?
Typically, the general contractor applies the markings based on the protocol drawings. However, the partition supplier should review the layout to ensure compatibility with the system.
Conclusion and Next Steps
A manual operated school auditorium partition stacking protocol is a practical necessity. It protects your investment, improves safety, and ensures that the partition operates smoothly for years. The protocol is not a generic template—it must be developed from your project’s specific layout and requirements.
If you are planning a new auditorium or renovating an existing one, start the conversation early. Share your layout with EBUNGE to review the movement paths and stacking configuration. Our team can discuss pass-door requirements, finish options, and the documentation needed to support your project. For more information on our operable wall systems, visit our operable wall system page. You can also explore past projects to see how movable partitions are applied in various settings.
Continue Exploring
More Operable Wall System Guides
- Newer guideHow to Compare Manual Operated Auditorium Partition Track for Ceiling-Mounted Spotlights vs Floodlights
- Earlier guideWhat Drawings Specify School Auditorium Partition Stacking with Wall-Mounted Stage Pin Rail Interfaces
- Related guideHow to Plan Manual Operation for Sports Hall Partition with Concurrent Table Tennis Setup Zones
- Related guideWhy Sports Hall Partition Stacking Needs Clearance for Ceiling-Mounted Gymnastics Ring Anchors